Master campaign creation with our Leap Onboard recruiter app using this comprehensive guide. Learn how to design, schedule, and launch targeted campaigns, fostering effective communication with candidates and employees for optimal engagement.
Table of Contents
Introduction
Welcome to the process notes for crafting and launching campaigns using our Leap Onboard recruiter app’s powerful features. This guide will walk you through the step-by-step process of creating effective campaigns to engage and communicate with candidates and employees.
Process Steps To Create Post Offer Engagement Campaigns
- Accessing the Campaigns Section: To start, simply click on the CAMPAIGNS tab located in the app header. This action will direct you to the dedicated Campaigns page.

- Creating a New Campaign: On the top right corner of the Campaigns page, you’ll notice the “New Campaign” call-to-action (CTA). Clicking this button will guide you to the “Create New Campaign” wizard.

- Inputting Campaign Details: Within the wizard, input the campaign’s specific details, and select the employment status of the candidates or employees to whom the campaign is targeted.
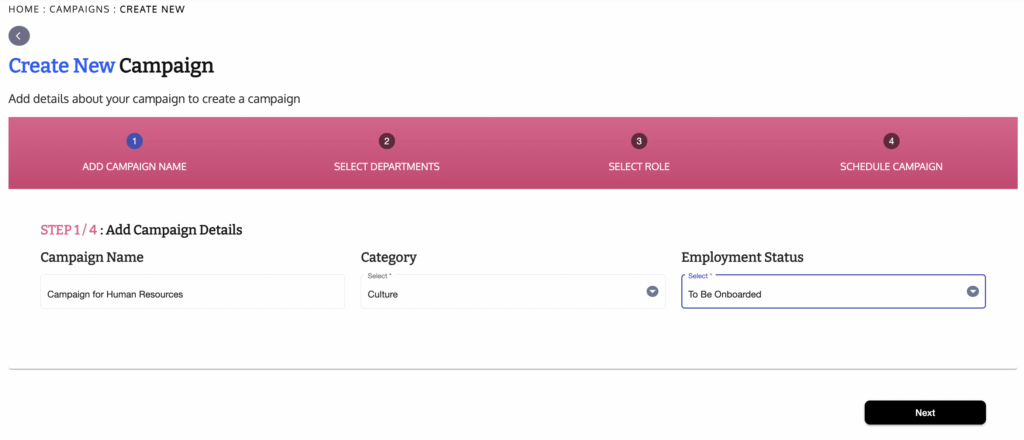
- Selecting Departments: Enjoy the flexibility to create campaigns for any department of your choice, ensuring precise communication.
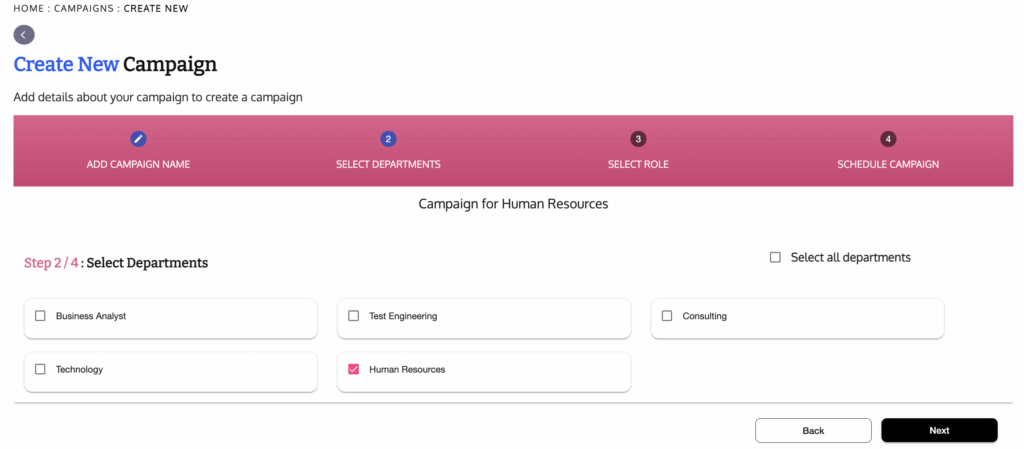
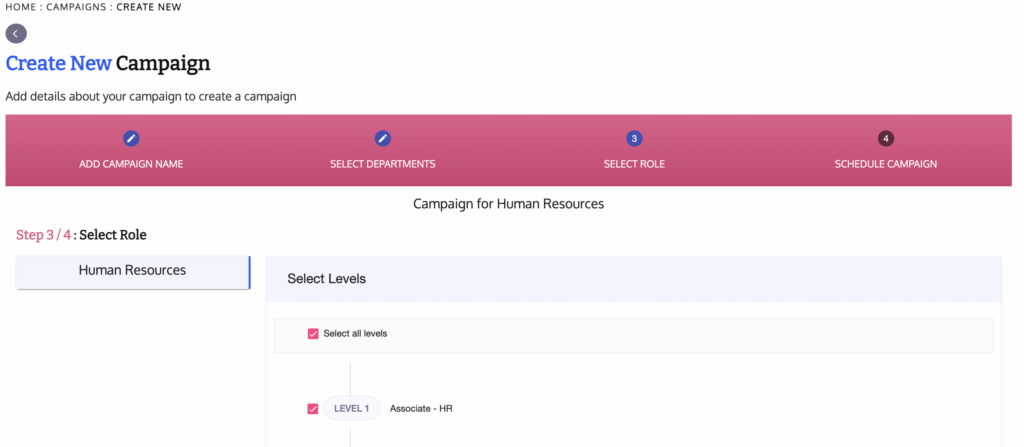
- Mapping Roles: For the selected departments, specify one or more roles to which the campaign should be directed, tailoring your communication effectively.
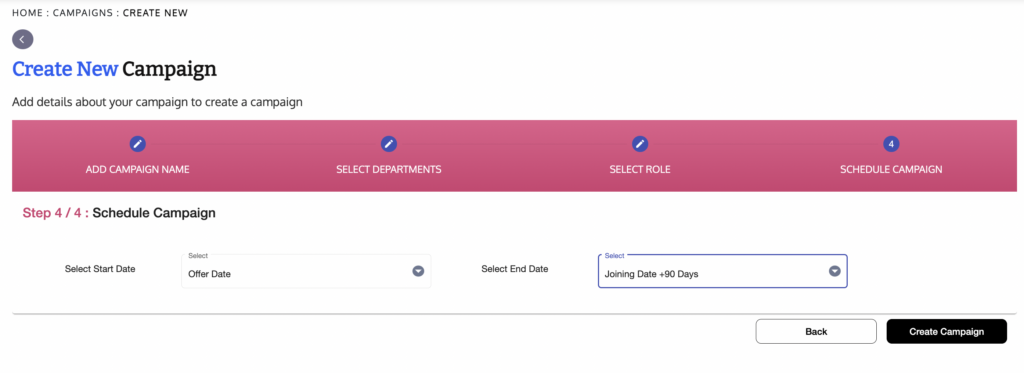
- Scheduling the Campaign: Schedule your campaign by setting start and end dates for its duration. You can choose specific dates or use dynamic options, like starting from a candidate’s offered date and extending to 90 days after their joining date. Similarly, when setting up a campaign for your interviewed candidates, you can pick certain dates or go for dynamic options. For instance, you can start the campaign from the candidate’s interview date and extend it for 30 days. Once you’ve chosen the dates, just click “Create Campaign” to finish the setup.
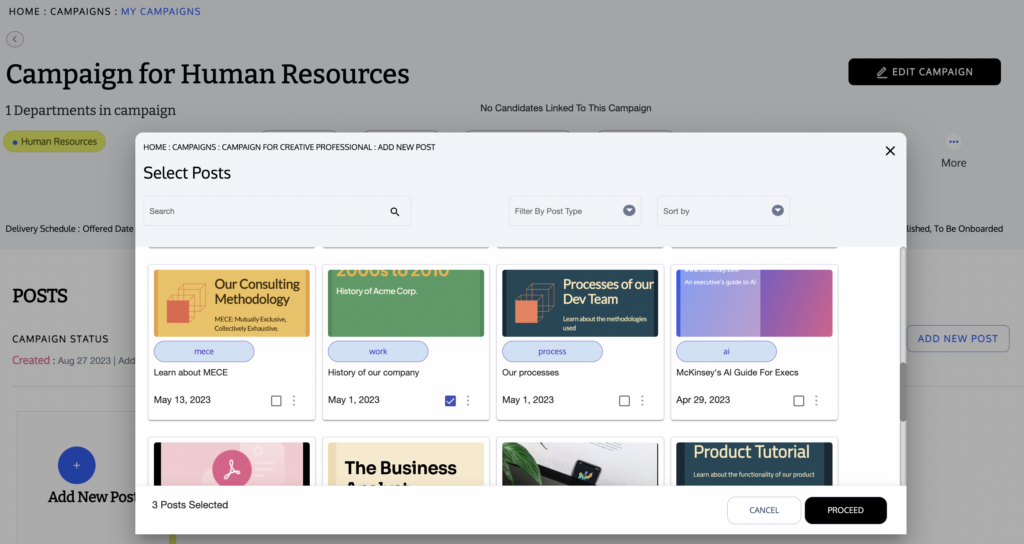
- Adding Posts to Campaign: After campaign creation, proceed to enhance it by adding posts. Simply click on the “Add New Post” call-to-action and select the appropriate posts you’ve crafted.
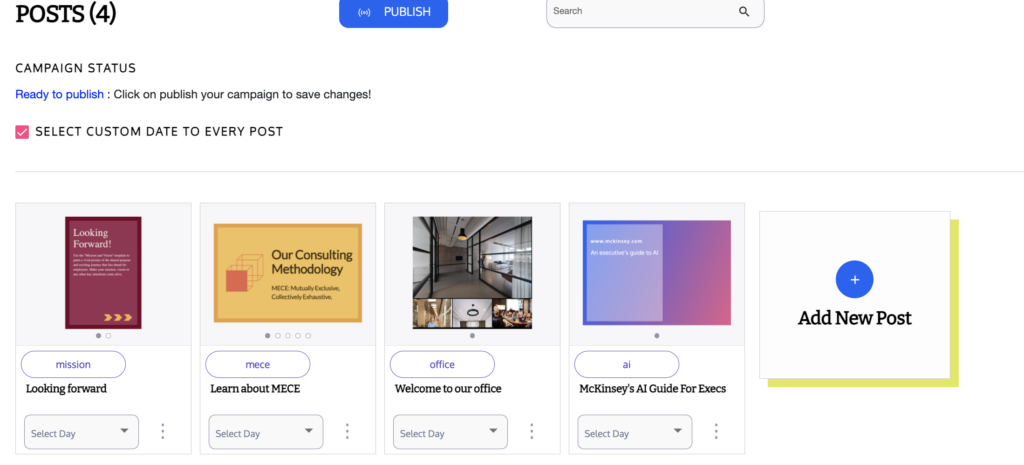
- Tailored Scheduling: You can not only let the post delivery be dynamic between the start date and end date of the campaign but also specific by choosing specific dates for each post.
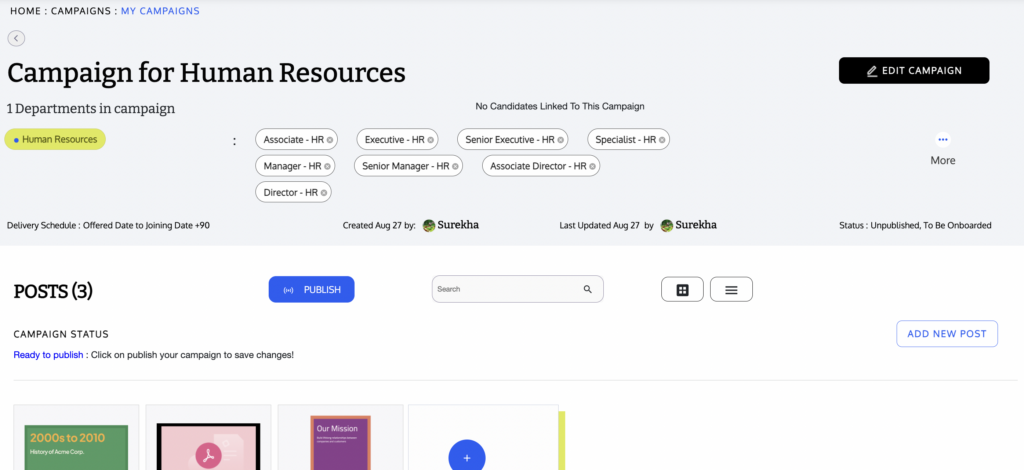
- Publishing the Campaign: Once you’ve curated your campaign with posts, click “Done.” Then, take the final step by clicking “Publish” to initiate and launch your campaign.
Conclusion
Crafting and launching campaigns through our recruiter app is a straightforward process that enables targeted and effective communication with candidates and employees. This guide has covered the key steps, from creating campaigns with specific details, departments, and roles, to scheduling and adding posts. By following these steps, you’ll be able to execute successful campaigns that engage and inform your audience. For further assistance, refer back to this guide or reach out to our support team.

