
Elevate candidate engagement using diverse post templates in our Leap Onboard recruiter app. Learn how to create impactful text, image, video, gallery, and link/document posts to effectively communicate with candidates and enhance their experience.
Table of Contents
Introduction
Welcome to the process notes for harnessing the power of post templates in our Leap Onboard recruiter app. This guide will take you through the step-by-step process of creating different types of posts, including text-only, text + image, video, image gallery, and link/document sharing. Unlock the potential of diverse post formats to effectively communicate with your candidates.
Process Steps To Create Candidate & Employee Engagement Posts
- Accessing the Posts Section: To get started, locate the POSTS tab in the app header. Within the fly-out menu, click on the TEMPLATES sub-menu. You will be redirected to the “Create Post” page. Here, you can choose from five distinct post formats to best convey your message to candidates.

- Text Only Posts:
- Template Selection: Within the Text-Only option, you have a choice of eight different templates. You can select the most appropriate one based on the message you intend to convey to the candidates. Select the template that suits your needs, proceed to input the necessary details, and then click on “Next.”
- Theme Selection: You can select a theme from the wide range of options available and then click on “Next”.
- Title and Caption: Once you’ve filled in all the content, click “Done,” and your post will be successfully created. You can then proceed to add this post to your campaign.
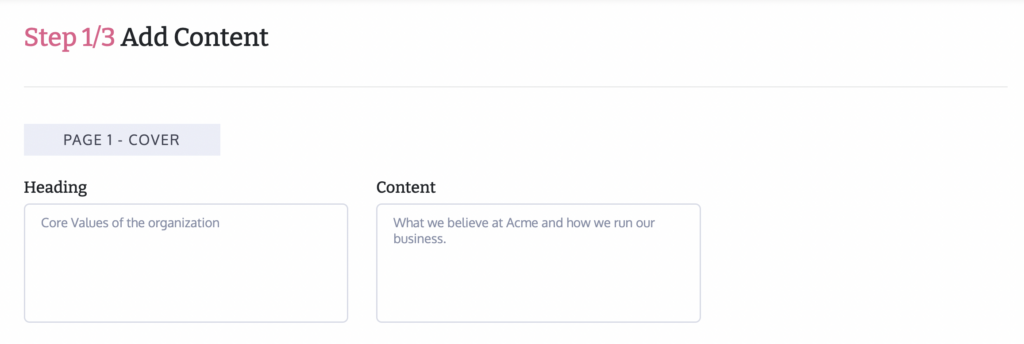
Step 1: Add your message and media in multiple slides
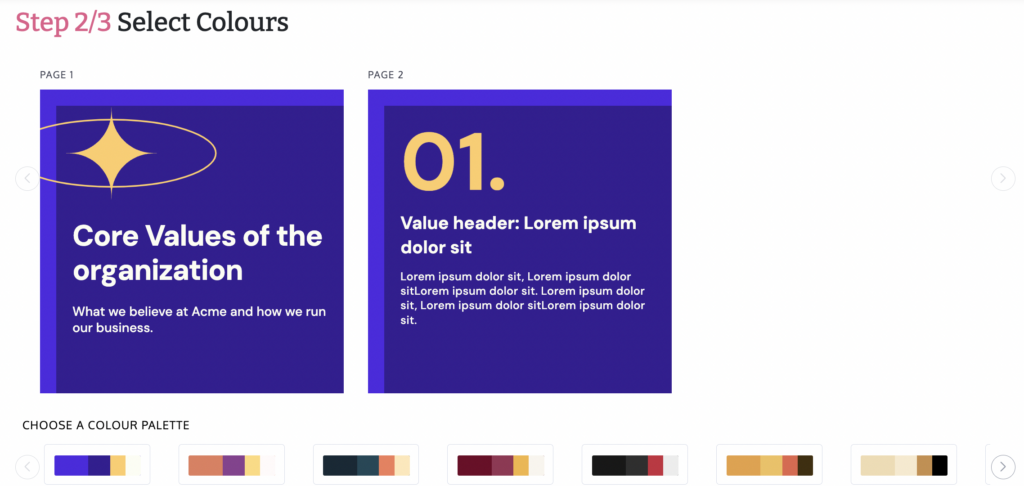
Step 2: Select your theme from a range of options
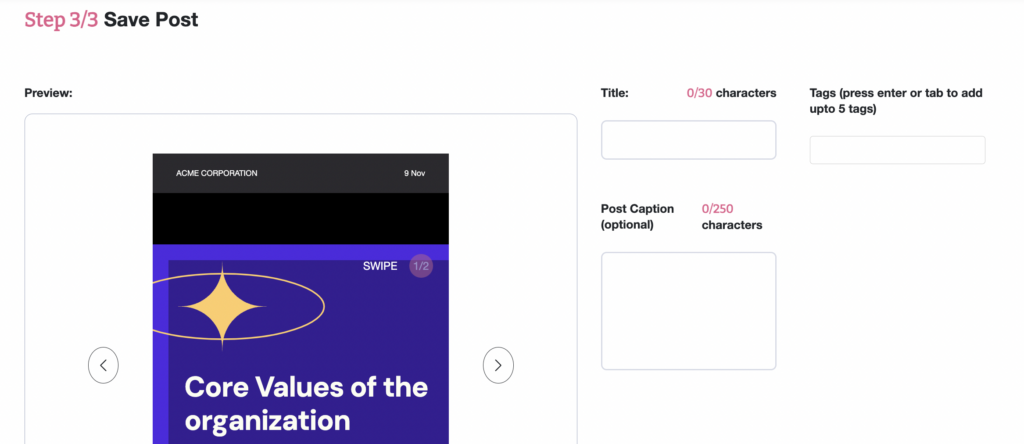
Step 3: Add a title and caption for your post
- Text + Image Posts:
- Template Selection: If you intend to create a post with both Text + Image, you can pick from a selection of available themes. After selecting your theme, you will be directed to the details page where you can provide the necessary information. Additionally, you can insert the desired image in the image section and then proceed by clicking “Next.”
- Theme Selection: After selecting “Next,” you will be directed to choose a theme for your post.
- Title & Caption: Once you’ve chosen the theme, proceed by clicking “Next” again. On the following page, you can add the title, caption, and tags for your post. After completing this, click on “Done” to finalise the post.
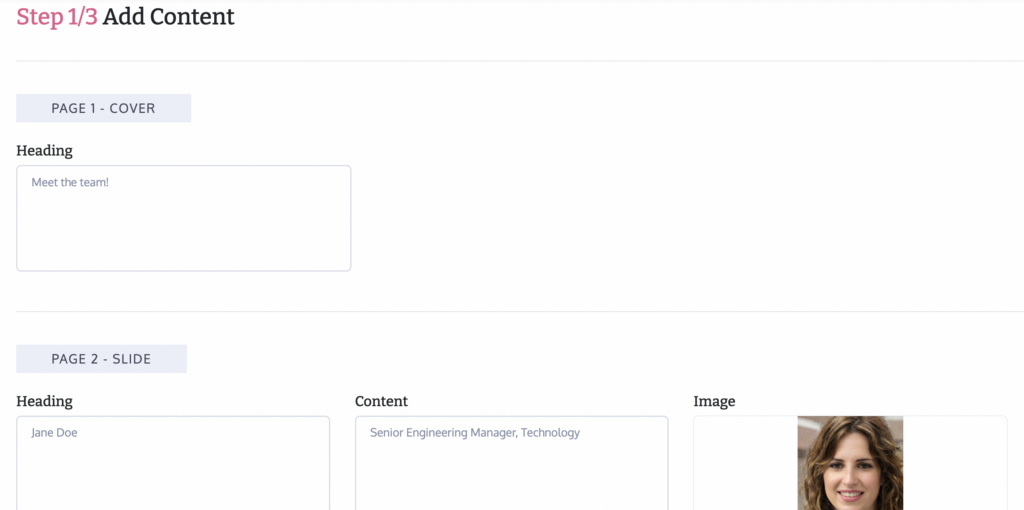
Step 1: Add your message and media in multiple slides
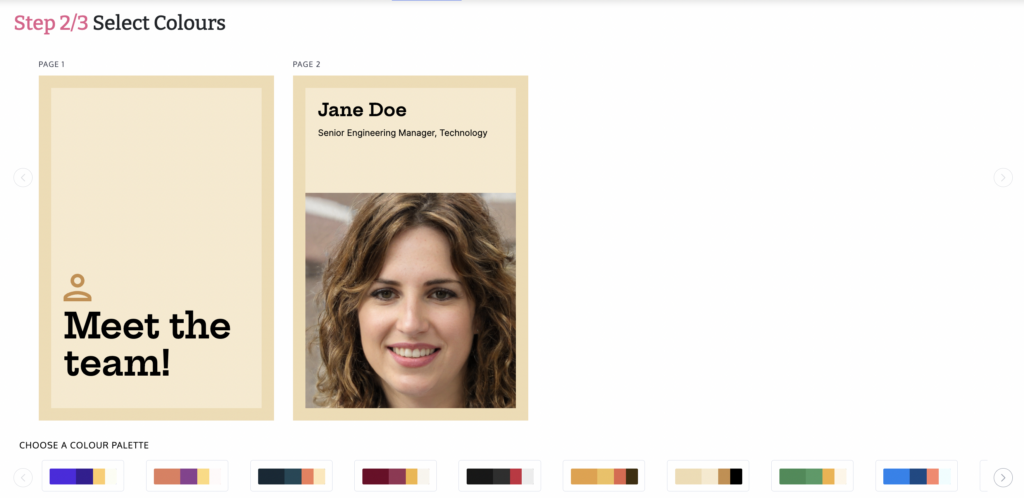
Step 2: Select your theme from a range of options
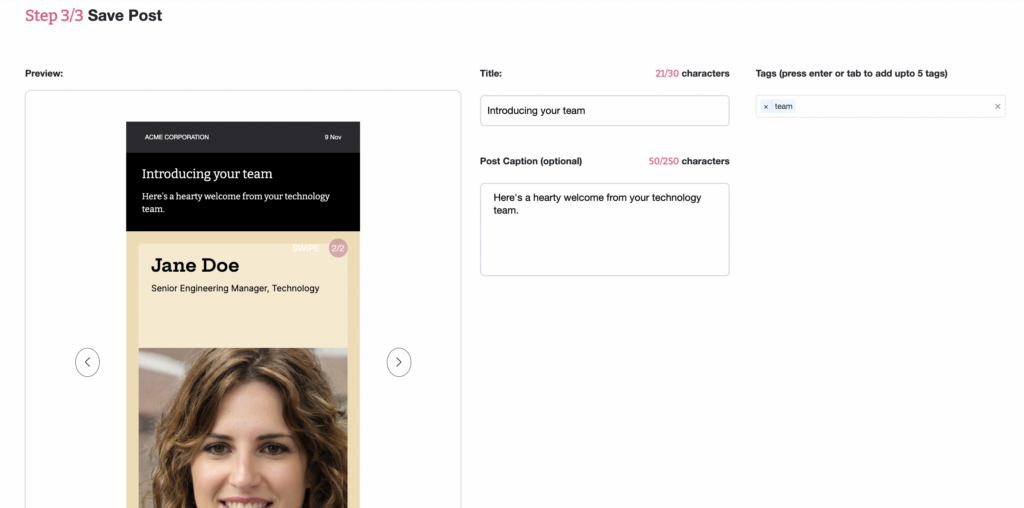
Step 3: Add a title and caption for your post
- Video Posts:
- Template Selection: You also have the option to create a post with a Video. To do so, navigate to the “Video” tab and select the desired template. This will lead you to the subsequent page, where you can upload the video, and then click on “Next.”
- Theme Selection: Subsequently, you can opt for any theme and then click “Next.”
- Title & Caption: Following this, you can add the title, caption, and tags as required. Upon clicking “Done,” your video post will be successfully created.
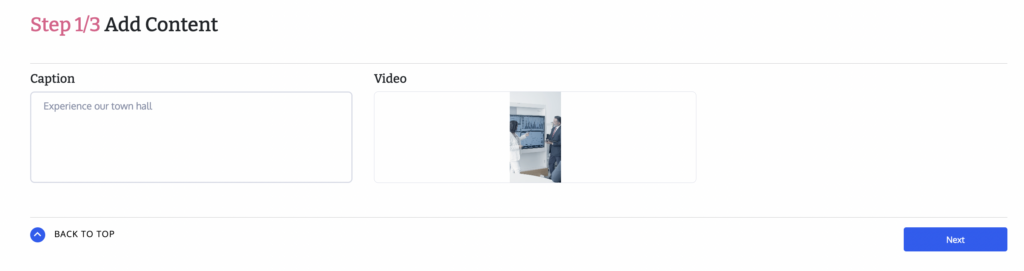
Step 1: Upload your video and add the overlay title
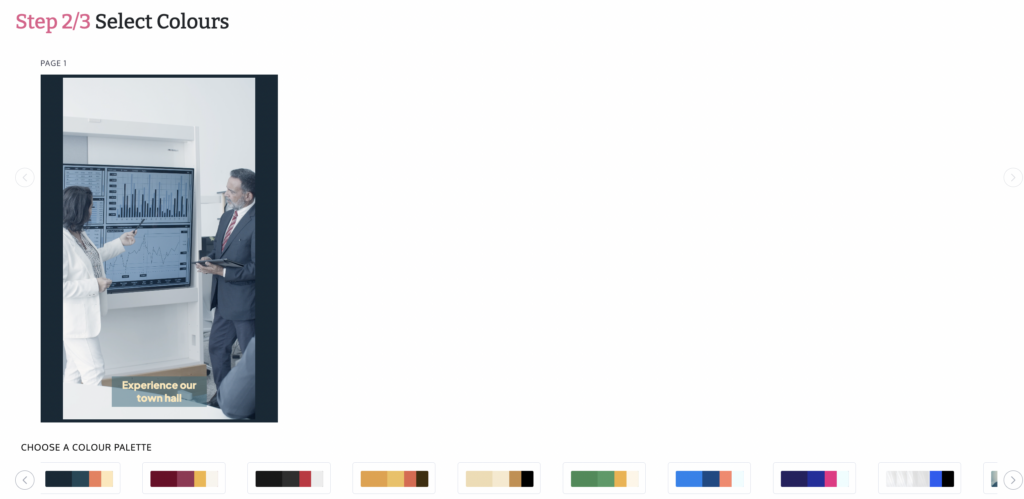
Step 2: Select your theme from a range of options
Step 3: Add a title and caption for your post
- Image Gallery:
- Template Selection: The image gallery option enables you to craft an Image Gallery post containing a maximum of 10 images. After selecting the Image Gallery option, you will be prompted to upload your desired images.
- Image Upload: Upon uploading an image, you will be guided to provide the media name, category, and tag for each image individually. Once you have uploaded them, you can proceed by clicking on “Next.”
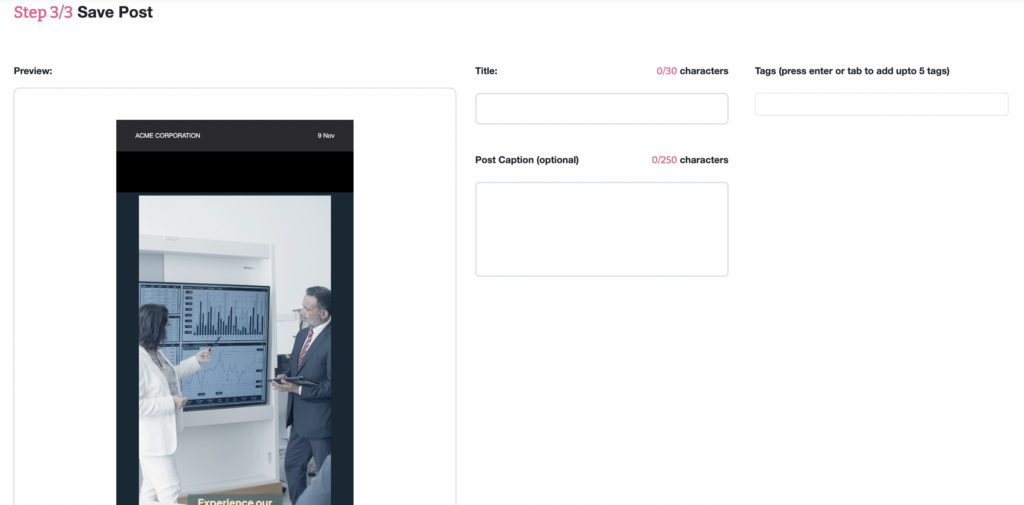
- Title & Caption: Once you’ve uploaded the images and clicked “Next,” you can proceed to add the final title, caption, and tags. After completing this, click on “Done” to finalise the image gallery post and your post is successfully created.
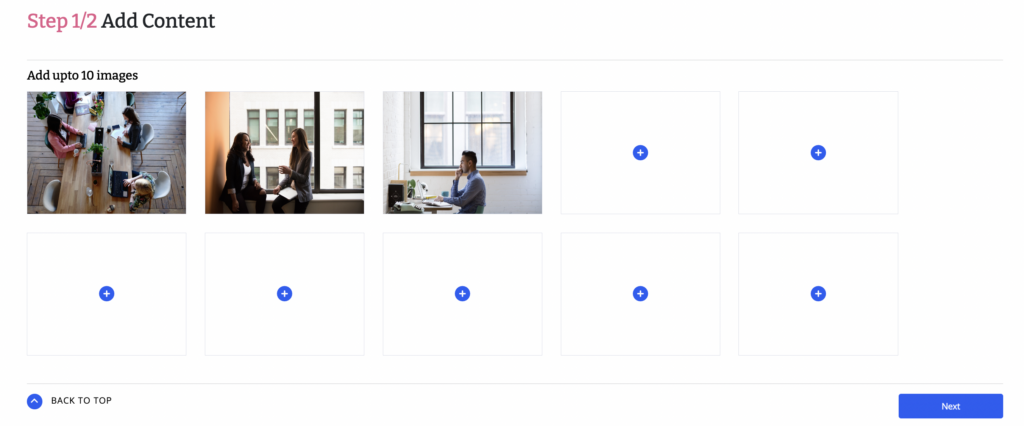
Step 1: Upload the images for your image gallery post
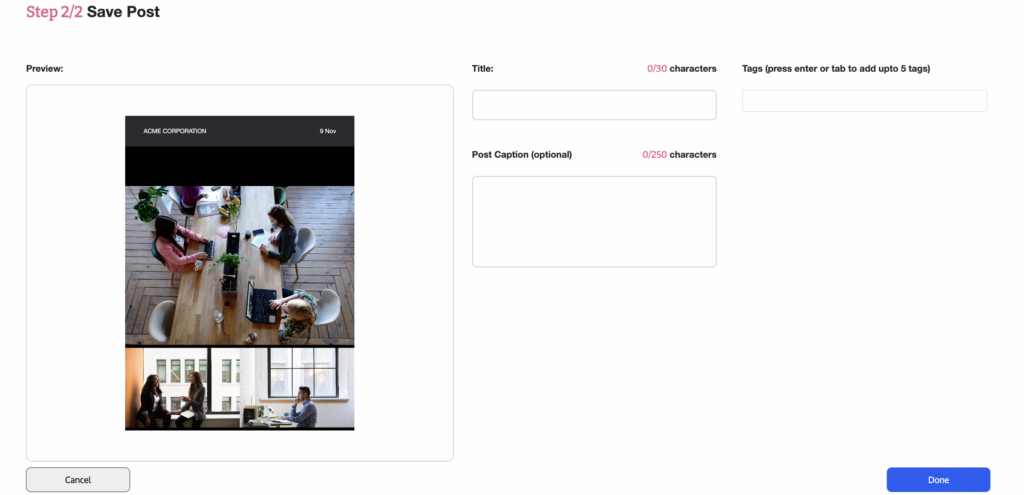
Step 2: Add a title and caption for your post
- Share a Link:
- Template Selection: If you wish to Share a Link with the candidates, you can utilise the “Share” option to facilitate this.
- Share Link: To share a link, click on “Share a Link,” and on the subsequent page, input the link you want to share. Afterward, click on “Next” to proceed.
- Title & Caption: You can then proceed to add the title, caption, and tags for the post. After completing this, click on “Done,” and you will be able to share the link post.
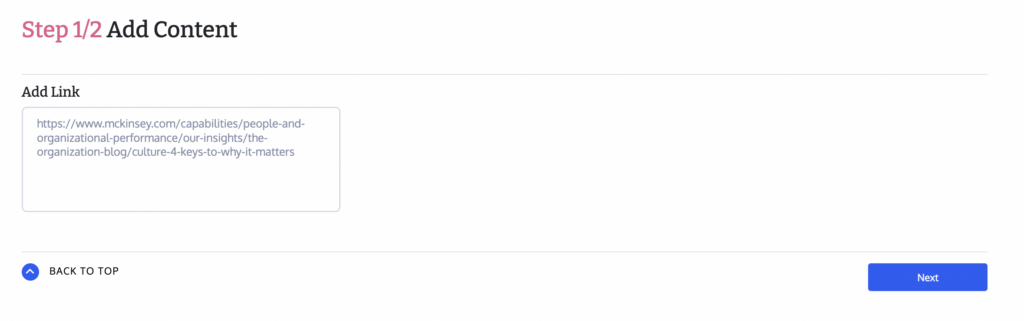
Step 1: Add your link
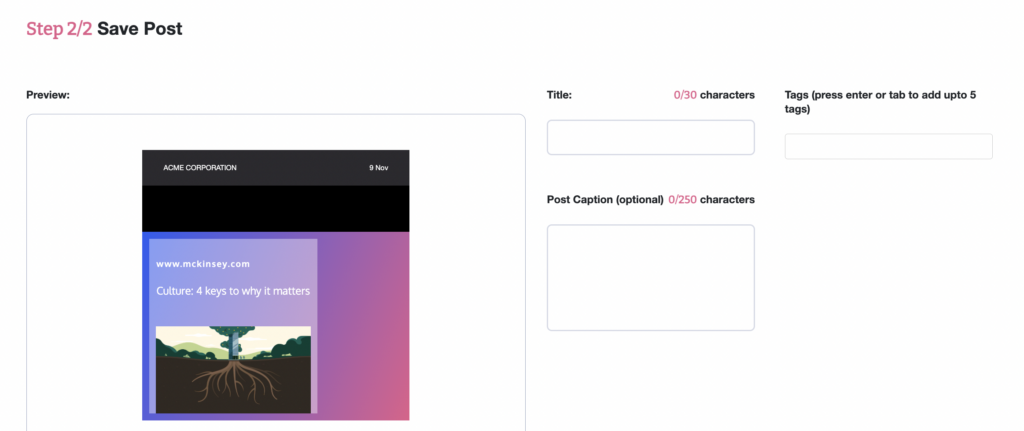
Step 2: Add a title and caption for your post
- Share a Document:
- Template Selection: To share a document, click on “Share Document.”
- Upload Document: From there, you can proceed to upload the desired document. Once you’ve uploaded the document, you can proceed to add the media name, category, and tags for the document. After uploading, click on “Next” to continue.
- Title & Caption: After reviewing the preview, you can add the title, caption, and tags for the document. Once you’ve done that, click on “Done” to finalise the post.
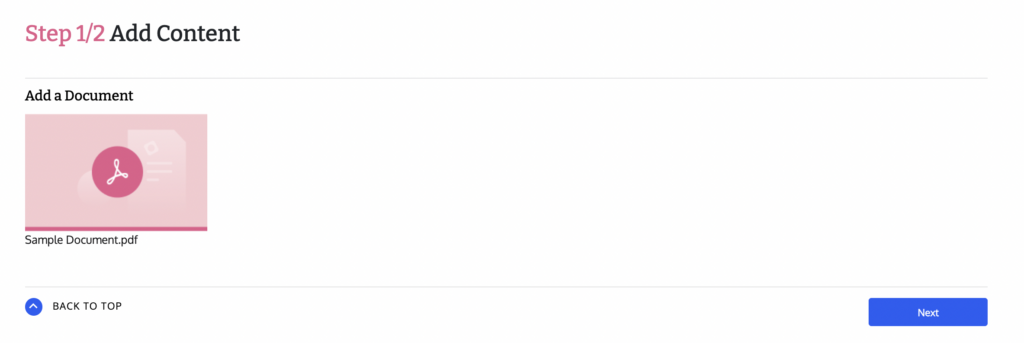
Step 1: Add your document
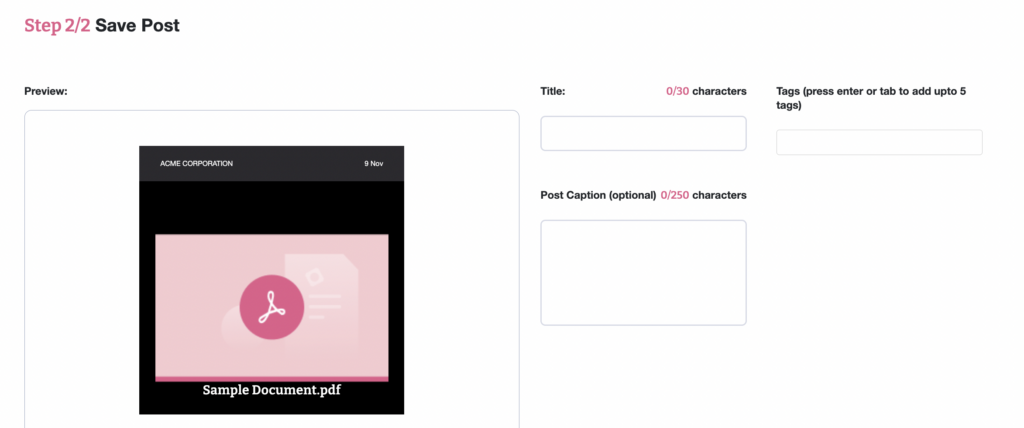
Step 2: Add a title and caption for your post
Conclusion
Efficiently communicate with candidates by utilizing our quick messaging feature. This guide has walked you through the process of crafting, targeting, and delivering important messages to specific departments. By following these steps, you’ll ensure timely and effective communication with candidates, enhancing their engagement and experience. For further assistance, feel free to refer back to this guide or contact our support team.